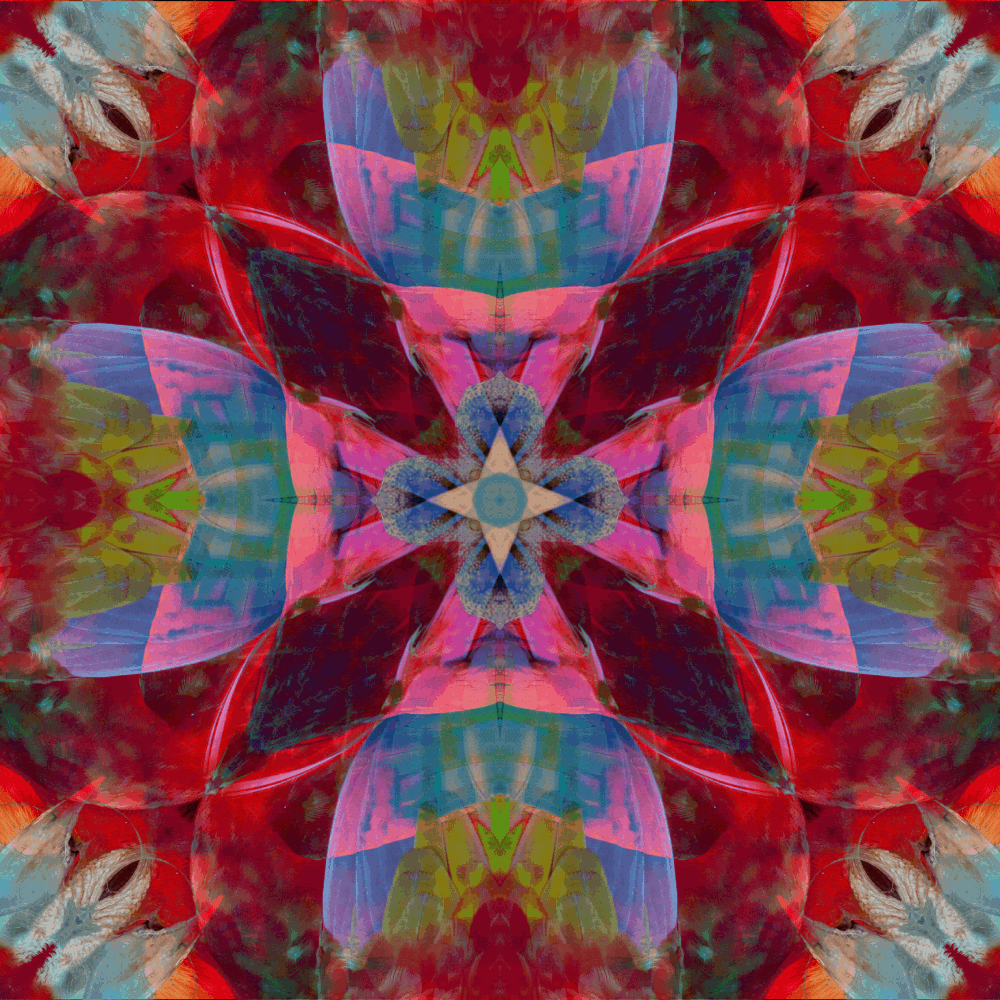
PROJECT
Using either Photopea or Photoshop, create an animated .GIF from 2 of your Kaleidoscopes.
VIDEO TUTORIALS:
PROCESS:
First save 2 of your Kaleidoscopes as .jpgs and place them on your drive.
TO CREATE .GIF in PHOTOSHOP:
TO CREATE .GIF in PHOTOPEA
Using either Photopea or Photoshop, create an animated .GIF from 2 of your Kaleidoscopes.
VIDEO TUTORIALS:
PROCESS:
First save 2 of your Kaleidoscopes as .jpgs and place them on your drive.
TO CREATE .GIF in PHOTOSHOP:
- Open Photoshop
- Create new document
Name: Animated_Kaleidoscope
Size: 1000 pixels width x 1000 pixels height |
DPI: 150 dpi
Background: transparent - File> Place Embedded (Select your Kaleidoscope that you saved as .jpg)
- Repeat File> Place Embedded (to add your 2nd Kaleidoscope .jpg)
- OPEN Window>Timeline
- In the Timeline Window > Select > Create from Animation
- Select Timeline Menu ( 3 lines, locate on the side of Timeline Window)
- Select Make Frames from Layers
- Set the Time on each frame (.5 second on each frame)
- File Export> Save for Web (Legacy)
- Select .GIF - Adaptive - SAVE
TO CREATE .GIF in PHOTOPEA
- Open Photopea
- Create new document
Name: Animated_Kaleidoscope
Size: 1000 pixels width x 1000 pixels height
DPI: 150 dpi
Background: Transparent - Open & Place > Select your Kaleidoscope that you saved as .jpg
- Repeat Open & Place > Select your 2nd Kaleidoscope .jpg
- add _a_ to the beginning of each layer name, by double clicking layer
- Export as > .GIF
- Format .GiF
Size: 1000 pixels width x 1000 pixels height
Quality: 100%
Speed: 32% ( or faster if you prefer)
Repeat: 0
SAVE
 RSS Feed
