 |  |
PROJECT:
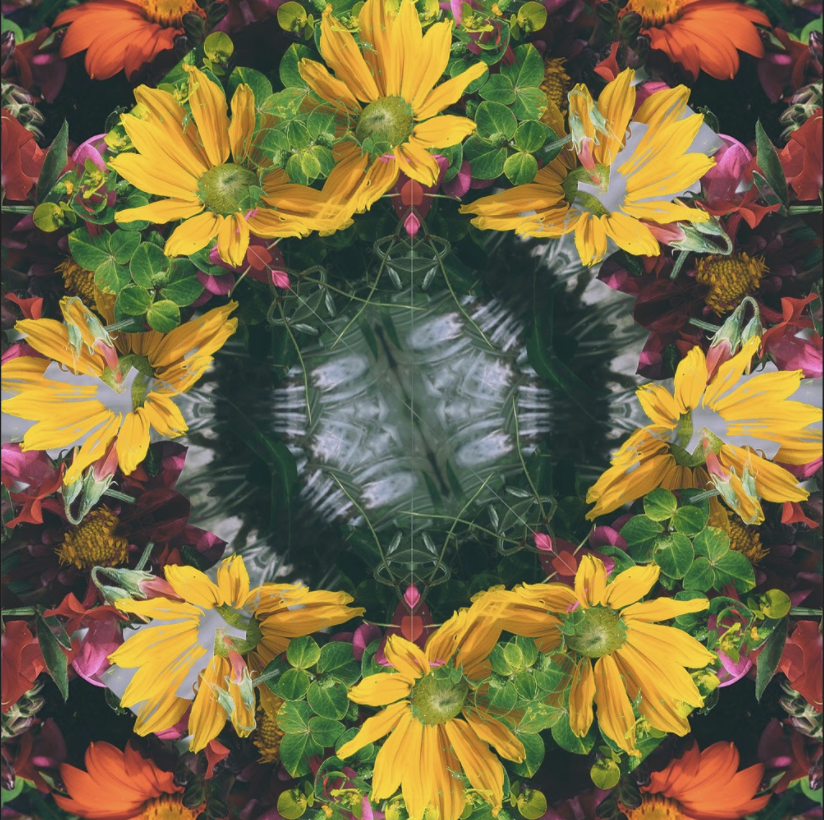
Create two Kaleidoscope designs from two different images.
You may use either Photoshop or Photopea.
Project Objectives:
Master Artists' Abstract Designs (Slideshow)
VIDEO TUTORIAL:
Kaleidoscope Tutorial (Video)
BEFORE YOU CREATE YOUR KALEIDOSCOPES
STEPS TO CREATE YOUR KALEIDOSCOPES
SAVING THE FILE TO THE RIGHT SIZE
APPLY THE EFFECT:
Applying Blending Modes: SEE Examples of blend modes below
Create two Kaleidoscope designs from two different images.
You may use either Photoshop or Photopea.
Project Objectives:
- Use tools to crop, transform, and rotate to create their designs.
- Use multiple reflections, flipping, rotating, and mirroring the same image repeatedly to create a Kaleidoscope pattern.
- Apply and experiment with layer blend modes to see how different blend modes can affect and change visuals in Photoshop.
Master Artists' Abstract Designs (Slideshow)
VIDEO TUTORIAL:
Kaleidoscope Tutorial (Video)
BEFORE YOU CREATE YOUR KALEIDOSCOPES
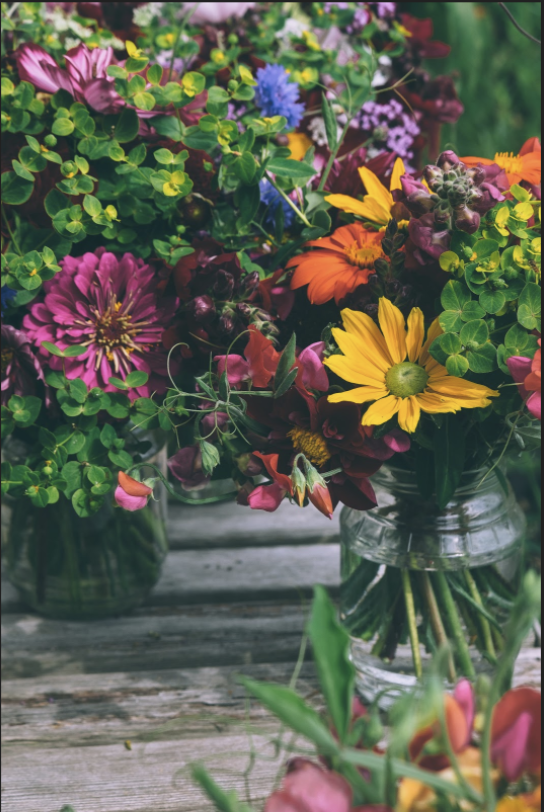
- SELECT COLOR DETAILED HIGH RESOLUTION PHOTOS.
- AT LEAST 300 DPI
STEPS TO CREATE YOUR KALEIDOSCOPES
- Open your photo in Photoshop/Photopea.
- Use the crop tool eliminate any non-detailed areas from your photo
you want to crop the photo to a very small area that has alot of detail.
You should really see the original image any longer. - SAVE cloud document- Last name_Kaleidoscope.psd
- EXTEND CANVAS Go to image> canvas size In the canvas window change size to Width 200 percent - Height 100 percent keep relative box unchecked Anchor box move points to the left middlebox. Hit Ok. This will expand the page size to allow the image to be flipped and rotated again.
- Duplicate image layer menu > layer > duplicate layer
- Select the move tool, Hold down the shift key and drag the Background copy image to the right to fill the open area.
- While on the background copy layer -- Go to Menu > Edit> Transform>Flip Horizontal. You've created a mirror reflection of the image to the right.
- Hold down the option key and Go to Menu > Layer > Merge Visible this will create a third layer joining the background images. SAVE FILE
- Go to image> canvas size In the canvas window, change the size to Width 100 percent - Height 200 percent - keep the relative box unchecked in the anchor box move point to the top middlebox. Hit Ok. This will expand the page size to allow the image to be flipped and rotated again.
- Duplicate Layer 1 image layer (dragging image layer onto a new layer icon or go to menu > layer > duplicate layer
- Select the move tool, Hold down the shift key and drag the Layer 1 copy image to the white below to fill the open area on the bottom of the page. SAVE FILE
- While selecting Layer 1 Go to Menu > Edit> Transform> Flip Vertical You created another mirror reflection on the bottom of the page.
- Selecting Layer 1 copy Go to Menu > Layer> Merge Down this wlll join the background images.
- Duplicate Layer 1 image layer (dragging image layer onto a new layer icon or go to menu > layer > duplicate layer
- While on Layer 1 copy Go to Menu >Select > All Go to Menu > Edit > Transform > Rotate 90 Clockwise
- Hold down the command key and double click on layer thumbnail this will select the image - Go to Menu >Image>Crop this will give us a square-shaped image
SAVING THE FILE TO THE RIGHT SIZE
- File> Image Size Change Image box details to
- Resolution 150 --
- Width 1000 pixels -- Height 1000 pixels
- SAVE FILE
APPLY THE EFFECT:
Applying Blending Modes: SEE Examples of blend modes below
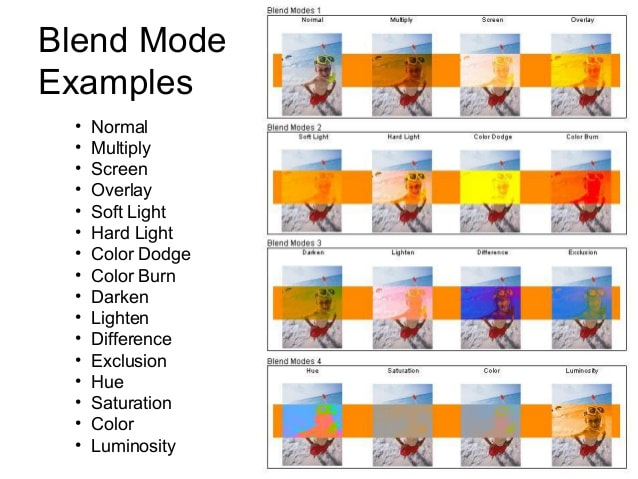
Save as .PSD and .JPG and turn Classroom - Turn in the original photo with the final Kaleidoscope .jpg file. Have fun exploring the blend modes.
Grading Criteria: General Art Rubric
Grading Criteria: General Art Rubric
 RSS Feed
